Build Configuration
Define, version, and track hardware build configurations from prototype through production.
What it's for
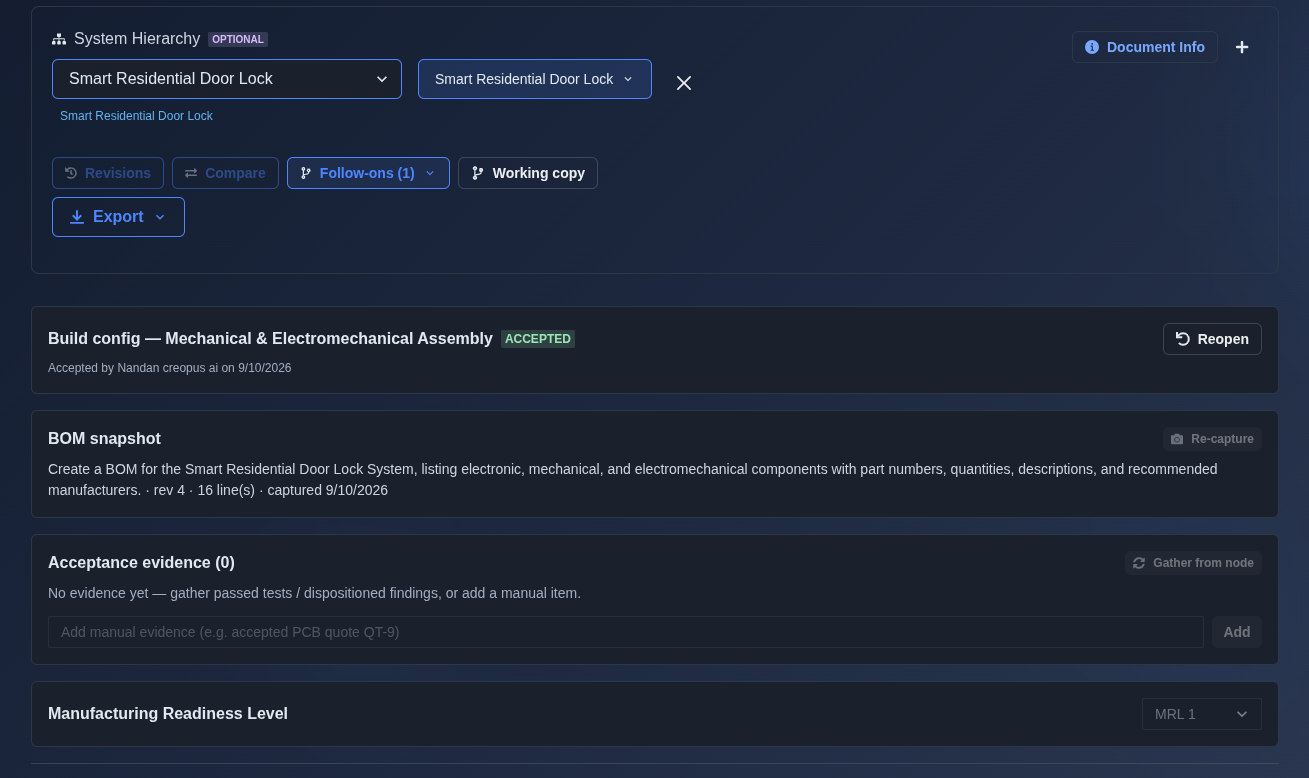
A build configuration record scoped to a System Hierarchy node. It captures a frozen BOM snapshot (revision, lines, parts), gathers acceptance evidence from DVP passed tests and Implementation Workspace dispositioned findings, tracks Manufacturing Readiness Level, and gates the configuration through an Accept (ORR) decision with recorded approver identity and timestamp.
When to use it
Use Build Configuration to record the as-built state of a hierarchy node and gate it through Operational Readiness Review (ORR) acceptance.
How it works
-
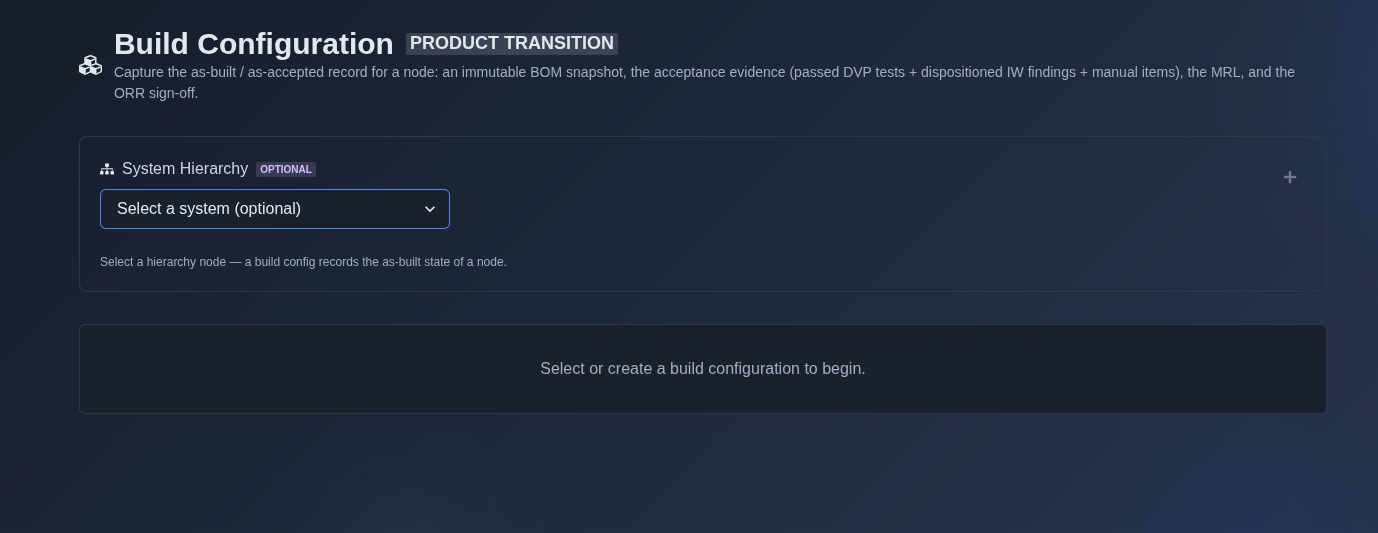
Initialize build configuration. → Optionally select a system from the “System Hierarchy” field. After selecting a system, select the required hierarchy node to scope the build configuration to that node.
▶ Initial state▼ Initial state
-
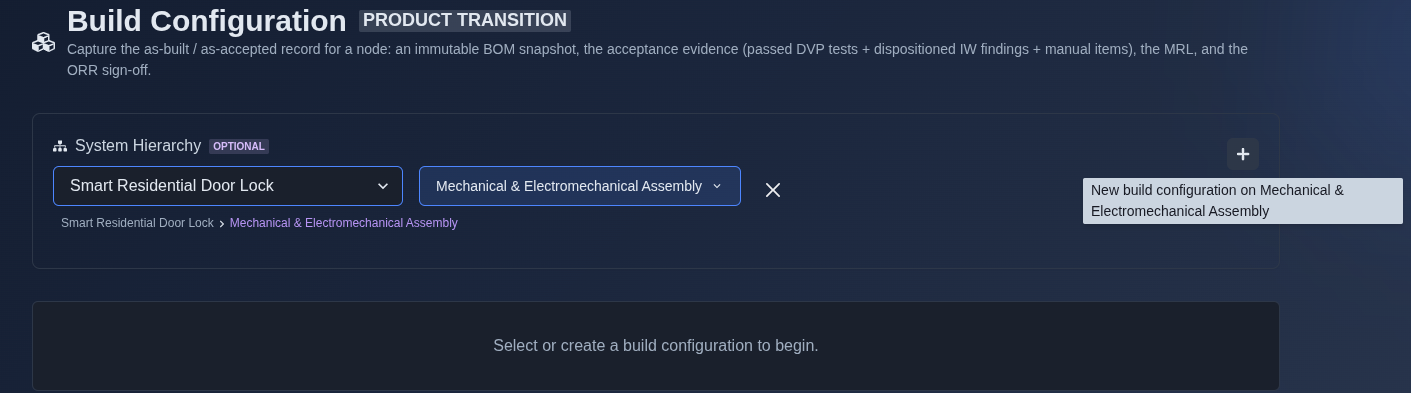
Create build configuration. → After selecting the required system and hierarchy node, click the “+” button to create a new build configuration for the selected node. The build configuration records the as-built or as-accepted state of the node.
▶ Create a build configuration▼ Create a build configuration
-
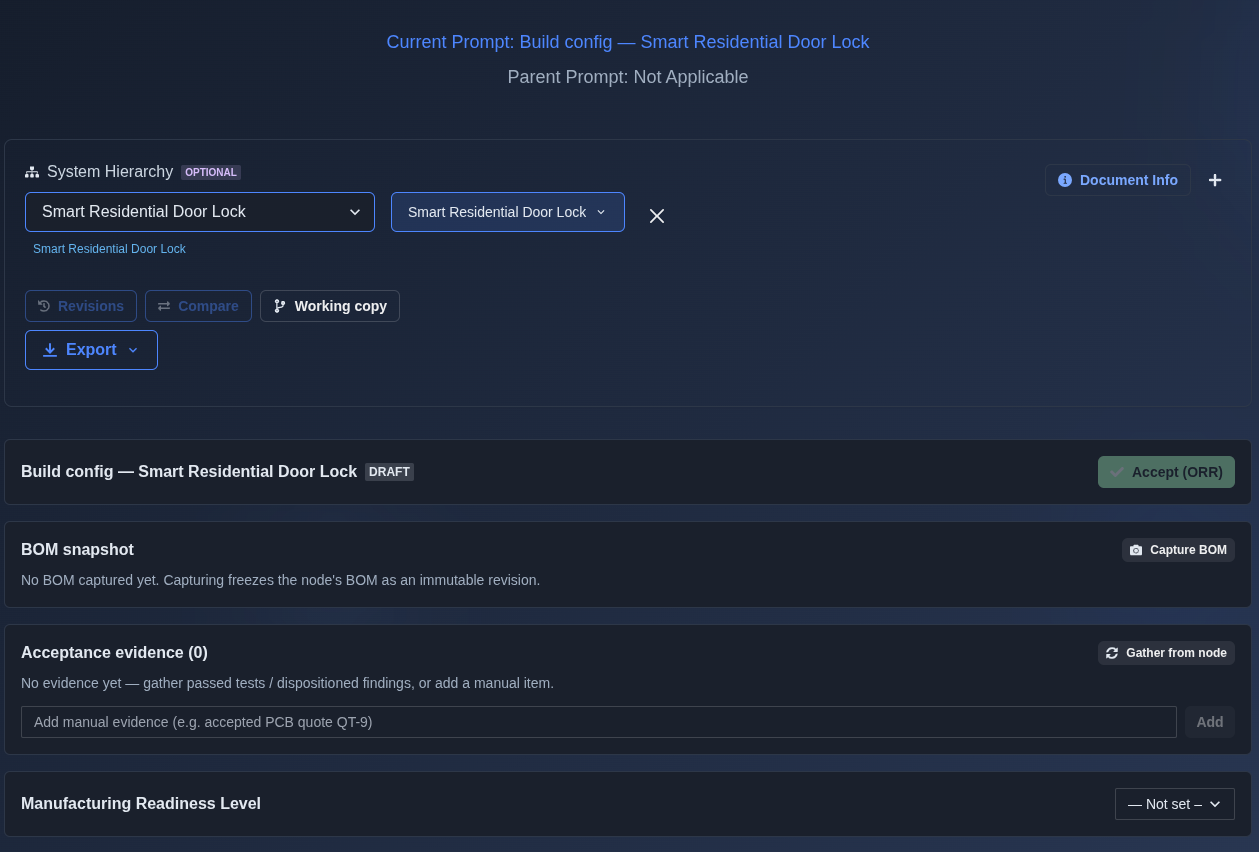
Generate the build configuration draft. → The system creates a new build configuration record titled "Build config — Smart Residential Door Lock" in DRAFT status. It scopes the record to the selected system hierarchy node, sets the mode to Working copy, displays an empty BOM snapshot state awaiting capture, opens an acceptance evidence section set to 0, and initializes the Manufacturing Readiness Level to "Not set".
▶ Generate the build configuration draft▼ Generate the build configuration draft
-
Capture the BOM snapshot. → Click “Capture BOM” to create a BOM snapshot for the selected system and node. The snapshot records the BOM revision, number of lines, capture date, part numbers, quantities, descriptions, and manufacturers for the components included in the build configuration.
▶ Capture the BOM snapshot▼ Capture the BOM snapshot

-
Review and add acceptance evidence. → Review the “Acceptance evidence” section to see the evidence gathered for the build configuration. Click “Gather from node” to collect passed DVP tests and dispositioned Implementation Workspace findings, or enter a manual evidence item and click “Add” to add acceptance evidence.
▶ Acceptance evidence▼ Acceptance evidence

-
Accept the build configuration (ORR). → Click the "Accept (ORR)" button on the draft configuration. The status tag updates from "DRAFT" to "ACCEPTED", records the approver identity alongside the acceptance timestamp, and replaces the accept action with a "Reopen" button.
▶ Accept the build configuration (ORR)▼ Accept the build configuration (ORR)

-
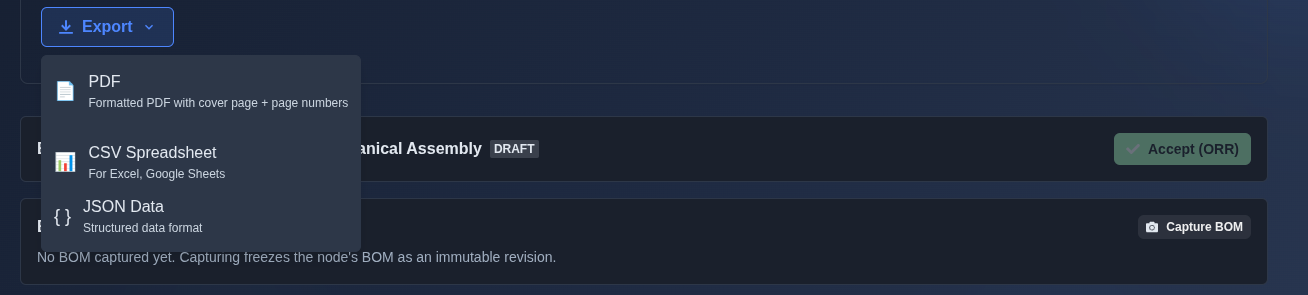
Export the build configuration. → Click "Export" and choose the required format: "PDF", "CSV Spreadsheet", or "JSON Data".
▶ Export▼ Export
Mechanics
- Scoped to a System Hierarchy node
- DRAFT → ACCEPTED (ORR) status lifecycle with approver identity and timestamp
- BOM snapshot capture (revision, line count, capture date, full parts list)
- Acceptance evidence from DVP passed tests and Implementation Workspace dispositioned findings
- Manual evidence entry
- Manufacturing Readiness Level (MRL) tracking
- Working copy mode
- Export as PDF · CSV Spreadsheet · JSON Data